Shade sails are one of the most popular ways for Brisbane homeowners to cool down a backyard, patio or pool area. They go up faster than a pergola, they let air move through, and a well-made sail can transform a space almost overnight.
More homeowners are now looking at DIY installation to save on labour costs. That makes sense. A shade sail looks simple. Pick some posts, attach some fabric, pull it tight. But Brisbane’s climate makes installation quality matter more than it does in many other parts of Australia. Strong UV, sudden storms and heavy rain all put real load on posts, fixings and fabric. A sail that isn’t installed properly won’t just look a bit saggy. It can fail when you need it most.
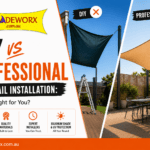
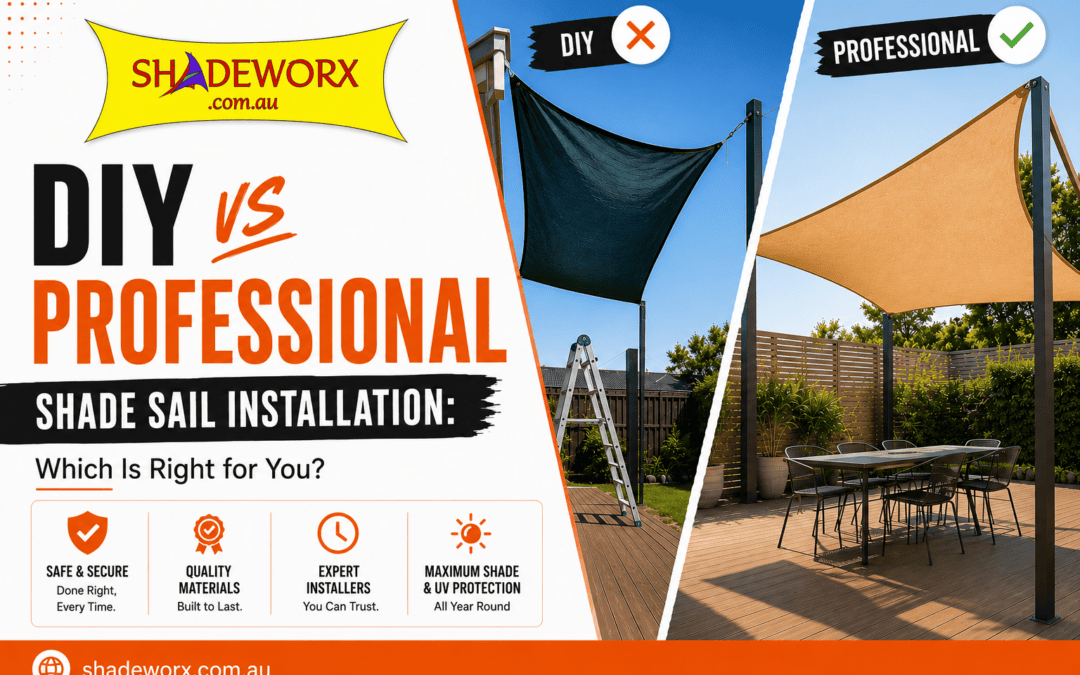
DIY shade sail installation works well for small, simple projects with strong existing fixing points. Professional installation is usually the better choice for larger spans, pool areas, or anywhere storm resistance and long-term durability matter most.
This guide compares DIY vs professional shade sail installation honestly. It covers cost, time, skill, safety and long-term performance for Brisbane homeowners, so you can work out which option suits your project.
DIY vs Professional Shade Sail Installation at a Glance
It depends on your project. DIY suits small, low-risk jobs with strong fixing points already in place. Professional installation suits bigger spans, uncertain fixing points, or anywhere storm resistance really matters.
| Factor | DIY Installation | Professional Installation |
|---|---|---|
| Cost | Lower upfront, but tools, hardware and any repairs add up | Higher upfront, priced as a full service |
| Time | Often a full weekend or more, once you include planning | Usually done in a day by an experienced crew |
| Skill required | Moderate to high, especially for structural work | Handled by trained installers |
| Tools | You’ll need a post hole digger, level, drill and tensioning tools | Installer supplies all the equipment |
| Durability | Depends heavily on how well it’s installed | Generally more consistent and longer-lasting |
| Safety | Working with posts, concrete and tensioned cable carries real risk | Installers are trained for structural and height work |
| Compliance | You check local requirements yourself | Installers know the relevant standards |
| Storm resistance | Only as good as the footings, fixings and tension | Built to handle Brisbane’s wind and rain loads |
| Warranty | Usually none on the workmanship | Often backed by an installation or product warranty |
| Long-term value | Can be excellent if done well, costly if not | Generally more predictable over the life of the sail |
What Does DIY Shade Sail Installation Actually Involve?
Yes. A shade sail is a tensioned structure, not a piece of fabric draped between posts. Getting it right takes planning and careful tensioning, not just picking a spot and pulling it tight.
A typical DIY installation includes:
- Planning and measuring the space, including sun path and nearby structures
- Sizing posts and footings to suit the height and span of the sail
- Choosing fixing points that can handle the tension and load
- Selecting hardware, such as turnbuckles, D-shackles and pad eyes
- Setting attachment points at the right height and angle
- Building in drainage, so water doesn’t pool on the fabric
- Tensioning the sail evenly across every corner
- Making final adjustments once the sail has settled under load
Each step affects the next one. A shallow post undermines even the best tensioning job. A poorly angled sail pools water no matter how good the fabric is. That’s why installation is treated as a structural task, not a decorating one. Ourstep-by-step installation guide walks through each stage in more detail if you’re planning a DIY project.
Even a perfectly made shade sail won’t perform well if the fixing points aren’t structurally sound. Check what you’re attaching to before you buy anything.
When DIY Installation Can Be a Good Choice
DIY is a budget-friendly choice for basic installation projects. But it only works if you can safely install strong posts, tension the sail correctly and provide proper drainage. More complex jobs are usually better left to professionals.
Use this simple decision path to check where your project sits:
Is your shade sail small and simple?
│
├── No → Professional installation is likely the safer, better-value option.
│
└── Yes → Do you already have strong, structurally sound fixing points?
│
├── No → Professional installation, or an engineer’s check first.
│
└── Yes → Do you have the tools, time and confidence for
posts, tensioning and drainage?
│
├── No → Professional installation.
│
└── Yes → DIY is a reasonable option.
DIY tends to work well when:
- The project is a small backyard sail, such as a single patio sail
- You already have strong, structurally sound fixing points, like a brick wall or solid fence
- You have some building or construction experience
- You have the right tools, including a post hole digger and tensioning hardware
- The installation is low-risk, with limited height and manageable spans
If this sounds like your project, our installation guide is a good place to start. Just be realistic about the time involved. Between digging footings, letting concrete cure and getting the tension right, a straightforward job can still take a full weekend.
Common DIY Shade Sail Installation Mistakes
The most common issue is underestimating the structural side, especially post depth, fixing point strength and drainage. These mistakes are often invisible until the first big storm.>
- Incorrect post depth. Footings that are too shallow for the post height and sail size can lead to leaning posts or structural failure under wind load.
- Weak attachment points. Fixing a sail to a surface that wasn’t built to take tension, such as a timber fascia, can pull the fixing loose over time.
- Poor tension. A DIY shade sail that isn’t tensioned correctly may begin sagging after heavy rain, placing unnecessary stress on the fabric and fixings.
- Water pooling. Without enough fall built into the design, rainwater collects at the low point of the sail, adding weight and stretching the fabric out of shape.
- Wrong sail angle. Ignoring the sun’s path, especially the need for a lower northern edge in Australian conditions, cuts down how much usable shade you actually get.
- Ignoring Brisbane weather. Underestimating wind loads and storm intensity is one of the most common reasons DIY sails fail during severe weather.
- Low-quality hardware. Budget turnbuckles, shackles and cable can corrode or fail faster in Brisbane’s humid climate.
One issue we see often when replacing failed DIY installations is inadequate footing depth. It rarely causes a problem straight away. It shows up after the first major storm, when the post starts to lean.
Any one of these mistakes might not cause an immediate problem. Combined with a Brisbane storm, though, they’re the most common reasons a shade sail ends up needing repair, or full replacement, well before its time. Correctly rated shade sail hardware makes a real difference here. Our hardware range is chosen to handle Australian conditions rather than a generic international spec.
What Professional Shade Sail Installers Do Differently
Professionals bring site assessment, custom design and structural know-how that’s hard to replicate as a first-time installer. This usually means a longer-lasting, better-performing sail.
Where DIY relies on the homeowner making every judgement call, professional installation typically includes:
- Site assessment, checking existing structures, ground conditions and sun path before any design work starts
- Custom design, rather than a generic fit, shaped for your specific space
- CAD planning, mapping the sail’s dimensions and tension points precisely before manufacturing
- Structural fixing selection, matching hardware to the actual loads involved
- Correct post sizing and footing depth, based on height, span and expected wind exposure
- Professional tensioning, so the sail sits drum-tight without over-stressing any one point
- Drainage design, built into the shape and angle from the outset, not adjusted after the fact
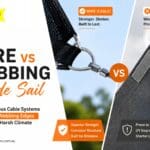
At Shadeworx, this approach is backed by more than 25 years of experience manufacturing shade sails in Brisbane. Sails are custom designed using tension membrane CAD software and made with heavy-duty shade cloth. A key difference in the build is the use of 316 stainless steel cable perimeters instead of webbing straps, which allows for stronger, more even tensioning and better resistance to Brisbane storms. The result is what the industry calls a drum-tight installation: a sail that stays taut and performs well over years, not just months.
Waterproof shade sails need a steeper pitch than standard sails. Without it, water can pool instead of running off, adding weight the structure was never designed to carry.
| DIY | Professional | |
|---|---|---|
| Time investment | High (full weekend or more) | Low (usually one day) |
| Upfront cost | Lower | Higher |
| Risk of costly mistakes | Higher | Lower |
| Structural confidence | Depends on your experience | Backed by trained installers |
| Storm readiness | Depends on execution | Designed in from the start |
DIY vs Professional Shade Sail Installation Costs
How much do you save installing a shade sail DIY?
DIY installation can lower labour costs. But savings depend on avoiding mistakes. Tools, hardware, concrete and any repairs from incorrect installation can close the cost gap, sometimes making DIY more expensive over the life of the sail.
When comparing costs, it helps to think about total ownership rather than just the number on day one.
DIY costs typically flow like this:
Posts → Concrete → Hardware → Tools → Your labour and time → Cost of fixing any mistakes
Professional installation costs typically flow like this:
Design and site assessment → Higher-grade materials → Labour and installation → Warranty cover
We won’t put a dollar figure on either option here. Costs vary a lot depending on sail size, site conditions and material choices. What’s consistent across the research is that fixing a poorly installed DIY sail, from re-digging footings to replacing corroded hardware, can outweigh any labour savings from doing it yourself. If you’re weighing up the numbers, it’s worth getting a quote so you can compare it against a realistic DIY budget, including tools and hardware.
| Question | DIY | Professional |
|---|---|---|
| Who pays for mistakes? | You do, in materials and time | Usually covered under warranty |
| Who supplies the tools? | You buy or hire them | Included in the service |
| Who carries the structural risk? | You do | The installer does |
| What’s the biggest hidden cost? | Repairing early failures | None, the price is set upfront |
How Brisbane’s Weather Changes the Decision
Brisbane’s mix of high UV, heavy rainfall and severe summer storms puts more demand on tensioning, drainage and hardware than milder climates. Installation quality has a bigger impact on how long a sail lasts here than in most other cities.
A few local factors worth planning around:
- UV exposure. Brisbane regularly reaches UV Index levels of 11 to 14 in summer, which the Cancer Council classifies as extreme. At these levels, unprotected skin can burn in under 10 minutes, so a shade sail is doing genuine daily work, not just adding a nice feature to the yard.
- Summer storms. Sudden, intense storms are common over summer. Wind gusts during these events put real strain on posts, fixings and tension points.
- Heavy rainfall. Without enough fall built into the sail’s design, water pools instead of running off. That adds weight, which stresses the fabric and hardware.
- Wind loads. Post depth and fixing strength need to account for wind, not just the static weight of the sail. Australian wind loading standards, including AS/NZS 1170.2 and AS 4055, exist for exactly this reason.
- Drainage and storm preparation. A well-designed sail sheds water quickly and holds its tension through wind gusts, rather than flexing and stretching with every gust.
None of this rules out DIY in Brisbane. It means the margin for error is smaller. It’s worth being honest about whether your planned fixing points and hardware are genuinely up to the job in Brisbane conditions.
Should You Install a Shade Sail Yourself or Hire a Professional?
Use this quick checklist to see which option fits your project.
DIY is suitable if:
- The sail is small to medium, such as a single patio or courtyard area
- You already have strong, structurally sound fixing points
- You’re comfortable with tools, concrete work and tensioning hardware
- You have time to plan properly and aren’t rushing the job
- The site is straightforward, without unusual angles or spans
Professional installation is better if:
- The sail is large, spans a pool area, or covers a commercial space
- Your fixing points are uncertain or need structural work
- The site has an irregular shape or multiple attachment angles
- You want a warranty on the installation itself
- You’d rather have the design, materials and tensioning handled by someone experienced in Brisbane conditions
- You’re not confident checking whether your project needs approval under local Queensland requirements. Our QBCC licence guide covers this in more detail.
If you’re still unsure after going through this list, that’s useful information in itself. It usually means getting professional advice, even just a quote and site visit, is worth the time before you commit to DIY.
Final Thoughts
DIY shade sail installation can work well, especially for smaller, low-risk projects where you have the right skills, tools and fixing points. Go in with realistic expectations about the planning, structural judgement and time involved.
Professional installation tends to deliver better long-term value for larger, more exposed or more complex projects, particularly given how demanding Brisbane’s sun, storms and rainfall can be on a poorly installed sail.
Rather than choosing on upfront price alone, work through the checklist above and think honestly about your site, your skills and how much risk you’re comfortable taking on. If you’d like a stronger, more storm-ready option than a standard sail, it’s worth comparing our waterproof shade sails or exploring a custom shade sail built for your exact space.
Need help deciding whether DIY or professional installation is right for your project? The experienced team at Shadeworx can help you choose the best solution for your space, whether you need expert advice, custom-made shade sails or high-quality installation hardware. Call 0419 771 042 or email [email protected].