
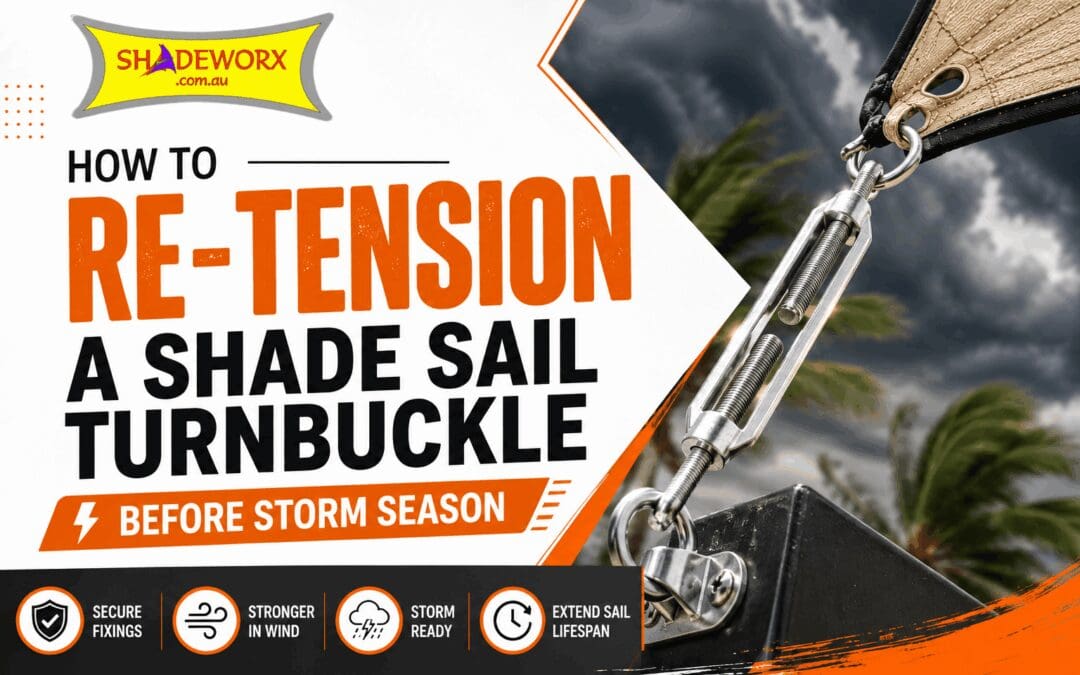
Is your shade sail sagging in the middle? Flapping at the edges? Louder than usual in the wind? It’s probably a good time to check the tension. Re-tensioning a turnbuckle is a normal part of shade sail maintenance. It’s not a sign the sail has failed. It works best when done before severe weather, not after.
How often you need to do it depends on your sail, the fabric and the weather it gets. There’s no single fixed schedule. Still, a pre-summer check is a good habit for Brisbane and Queensland homeowners. This guide covers why tension matters, how to spot a sail that needs adjusting, how to re-tension a turnbuckle safely, how tight is “tight enough,” and when tightening isn’t the answer at all.
Why Shade Sail Tension Matters Before a Storm
A correctly tensioned sail sits taut, with the fabric pulled evenly across the perimeter cable. There are a few practical reasons why this is important:
- Taut fabric flaps less. Loose fabric moves in the wind. Repeated flapping wears out stitching and edges faster than steady use ever will.
- Tension helps the sail shed water. Proper tension keeps the sail’s built-in slope, so rain runs off instead of pooling in the middle.
- Even tension protects the hardware. If one corner is tighter than the rest, the load isn’t shared properly. That extra strain gets passed on to the turnbuckles, D-shackles and anchor points.
Shadeworx sails use a 316-grade stainless steel perimeter cable. It lets the fabric be tensioned evenly across the whole sail, instead of pulling hardest at the corners. The goal during maintenance is the same: a firm, smooth surface with balanced tension — not the maximum pull a turnbuckle can apply.
How to Tell If Your Shade Sail Needs Re-Tensioning
A quick visual check usually tells you whether it’s time to adjust the turnbuckles:
- The centre is sagging instead of sitting flat
- The edges flap even in light or moderate wind
- There’s visible slack or wrinkling in the fabric
- Water pools instead of running off
- The sail sounds louder or “flappier” than usual
- A turnbuckle has visibly loosened
- One corner is noticeably tighter than the others
None of these automatically mean “tighten it.” Sagging can also point to a damaged fixing, corroded hardware, or a post that’s moved. Tightening won’t fix any of those. If anything looks bent, cracked or rusted, get it inspected before you touch the turnbuckle.
What You Need to Re-Tension a Shade Sail Turnbuckle
- A correctly sized spanner or wrench (don’t improvise with pliers, which can round off stainless steel fittings)
- Gloves, and eye protection if you’re working near tensioned cable
- Safe access to every corner, without climbing onto a roof or an unstable ladder
- Replacement hardware on hand, in case you find corrosion or damage
Shadeworx supplies a full range of shade sail turnbuckles, plus D-shackles, roof brackets, diamond pad eyes and cable traces. That means you’re not stuck trying to match old, worn hardware.
How to Re-Tension a Shade Sail Turnbuckle
- Inspect before you tighten. Check the fabric, stitching, cable, turnbuckles, D-shackles, pad eyes, posts, and wall or roof fixings for corrosion, cracking or movement. If you find significant damage, stop. Tightening a sail on a weak anchor point just adds load to a weak spot.
- Check everything is seated correctly. Make sure each turnbuckle and connection is properly engaged before you adjust it. Never force a seized, bent or heavily corroded fitting. Get it inspected or replaced instead.
- Tighten gradually and evenly. Don’t wind one corner up fully before moving to the next, or you’ll pull the sail out of shape. For a four-point sail, work diagonally: corner A, then opposite corner C, then B, then D. Repeat in small turns until tension is even. For a three-point sail, bring each corner up gradually rather than maxing out one point first.
- Check the fabric as you go. Watch for wrinkles disappearing and the centre sag reducing. Shade sails are engineered with height differences between corners on purpose, so a completely flat sail isn’t the goal.
- Don’t over-tighten. Excess tension can cause damage. It doesn’t make a sail stronger. It just loads up the fabric, cable, turnbuckles, D-shackles, anchor points and posts for no reason. There’s no single “turn it this many times” figure, because sail size and hardware vary — see the section below for how to judge when it’s tight enough.
- Lock it off. Where your turnbuckle has a locking nut or similar feature, secure it once you’re happy with the tension, following the instructions for that specific fitting.
How Tight Should a Shade Sail Be?
A shade sail should be firm and evenly tensioned, with the slack and wrinkles removed. It shouldn’t be wound up as tight as it will physically go. Here’s a simple check: the sail should look even across the perimeter, with the sag and wrinkles reduced. The turnbuckle shouldn’t need extreme force to move. The hardware shouldn’t look bent or strained. If you’re forcing the fitting, or the sail still sags after a reasonable adjustment, stop. Look for the underlying cause instead of tightening further.
Some Australian industry guidance uses roughly 30–50 kg of tension per corner as a reference point for sails up to 25 m². This isn’t an Australian Standard or a Shadeworx engineering spec — it’s a general industry figure. The right tension for your sail depends on its size, fabric, shape, cable and the structure holding it up. Unless you’re using proper load-measuring equipment and following the manufacturer’s specs, don’t try to hit an exact kilogram number by feel.
How Often Should You Re-Tension a Shade Sail?
There’s no single interval that suits every sail, but a few triggers work well for shade sail maintenance:
- After a new installation. New fabric stretches as it beds in, so an early check within the first few weeks is normal.
- Before the warmer, stormier months. For Brisbane properties, build this into your regular pre-summer routine.
- After strong wind or heavy weather. Give the sail and hardware a once-over after any significant event.
- Whenever you spot a warning sign. Sagging, flapping, pooling water or a loose turnbuckle are reasons to check regardless of timing.
Some Australian industry guidance recommends a monthly check plus a check after strong wind events. Treat that as a sensible habit rather than a strict rule.
When Re-Tensioning Isn’t Enough: When Should You Take Down a Shade Sail?
Re-tensioning is routine preparation. Taking the sail down is a different call. It’s the right move when the risk goes beyond what tension can manage. Don’t wait until a storm is already rolling in to decide.
Signs that call for inspection or removal rather than more tension:
- Torn fabric or frayed stitching
- A bent or damaged turnbuckle
- Heavy corrosion on any hardware
- A post that’s loose or moving
- Cracked masonry around a fixing point
- Damaged perimeter cable or anchor points
- Sagging that tightening doesn’t correct
- A severe weather or cyclone warning for your area
The Queensland Reconstruction Authority is clear on this: shade sails aren’t designed to resist cyclonic wind forces. They should be taken down when a cyclone is approaching, not left up and re-tensioned. Once severe weather is forecast, taking the sail down is the safer option. For a full walkthrough, see our shade sail storm preparation guide.
Shade Sail Maintenance Checklist Before Storm Season
- Inspect fabric for tears and fraying
- Check perimeter stitching and cable
- Look over turnbuckles for corrosion or damage
- Check D-shackles and other fittings
- Inspect anchor points for cracking or movement
- Check posts for rocking or lean
- Look for sagging or excessive flapping
- Re-tension if the checks above show it’s needed
- Watch weather warnings as severe weather approaches
- Know your take-down process before you need it
Brisbane Weather: Why Seasonal Shade Sail Maintenance Matters
A pre-summer shade sail inspection is a sensible step for Brisbane homeowners. Why? According to the Bureau of Meteorology, severe thunderstorms are most common across Australia from around September to March. BOM classifies a damaging thunderstorm gust as 90 km/h or greater. That’s a warning threshold, not a safe operating limit for a shade sail. Separately, Australia’s official tropical cyclone season runs from 1 November to 30 April. There’s no fixed “Brisbane storm season,” but the takeaway is the same: get your shade sail maintenance done before the risk period ramps up, not during it.
Brisbane’s outdoor structures also need to handle local wind conditions, and that depends on the strength of the fixing points. A turnbuckle can only perform as well as the sail, hardware and structure it’s attached to. If a fixing is moving, cracked or wearing away, tightening the sail won’t fix it — the fixing itself needs repair.
DIY or Professional Shade Sail Maintenance?
DIY is usually fine when: the sail is accessible from ground level, the hardware is in good condition, there’s no obvious structural damage, and you don’t need to climb onto a roof or use an unsafe ladder.
Call a professional when: you’d need to work at height, a post is moving, a wall or roof fixing looks damaged, hardware shows heavy corrosion, the fabric is torn, a turnbuckle is seized, or the sail stays loose no matter how much you tighten it.
If in doubt, get a second opinion before you climb up and start adjusting.
Frequently Asked Questions
How often should I re-tension my shade sail?
Check regularly. Do a more thorough inspection before periods of increased storm activity and after big wind events. New installations may need an earlier check in the first few weeks, once the fabric has settled.
Why is my shade sail sagging?
Common causes include reduced tension over time, natural fabric stretch, uneven tensioning, the sail’s original installation, damaged or loose hardware, or movement in a post or anchor point. Sagging doesn’t always mean “tighten the turnbuckle” — it’s worth ruling out a hardware or structural issue first.
What tools do I need to tighten a turnbuckle?
Usually just the correctly sized spanner or wrench for your turnbuckle, plus gloves and eye protection where needed. Check the hardware you actually have before assuming a tool size, since turnbuckles vary between suppliers and sail sizes.
Can I re-tension a shade sail myself?
Yes, if every fixing is safely accessible and the sail, hardware and structure are in good condition. Avoid DIY adjustment if you’d need to work at height, or if you find damaged hardware, a loose post, cracking, or a turnbuckle that’s seized.
Can tightening a shade sail prevent storm damage?
No. Re-tensioning helps the sail perform well during everyday use. It doesn’t make a shade sail cyclone-proof, and it doesn’t guarantee the sail will survive severe weather. If severe or cyclonic weather is forecast, follow the manufacturer’s guidance and take the sail down where appropriate.
Get Your Shade Sail Ready Before Storm Season
Good shade sail maintenance comes down to three things. Check the sail before severe weather arrives. Re-tension gradually instead of cranking it as tight as possible. Know when to take it down instead of relying on tension alone. Shadeworx has been manufacturing and supplying shade sails across Australia for more than 25 years, and we know the fabric, cable, hardware and anchor points all need to work together — tension is only part of the picture.
Not sure whether your shade sail simply needs re-tensioning, or needs a closer look? Shadeworx can help you assess the sail, hardware and installation before severe weather sets in. Planning a new install in the meantime? Our shade sail installation guide is a good place to start.
Phone: 0419 771 042 Email: [email protected]
Shadeworx is currently relocating, with normal operations expected to resume on 27 August 2026. Phone and email enquiries during this period may take a little longer to reach us — thanks for your patience.
